Get Your Stuff Together!
 |
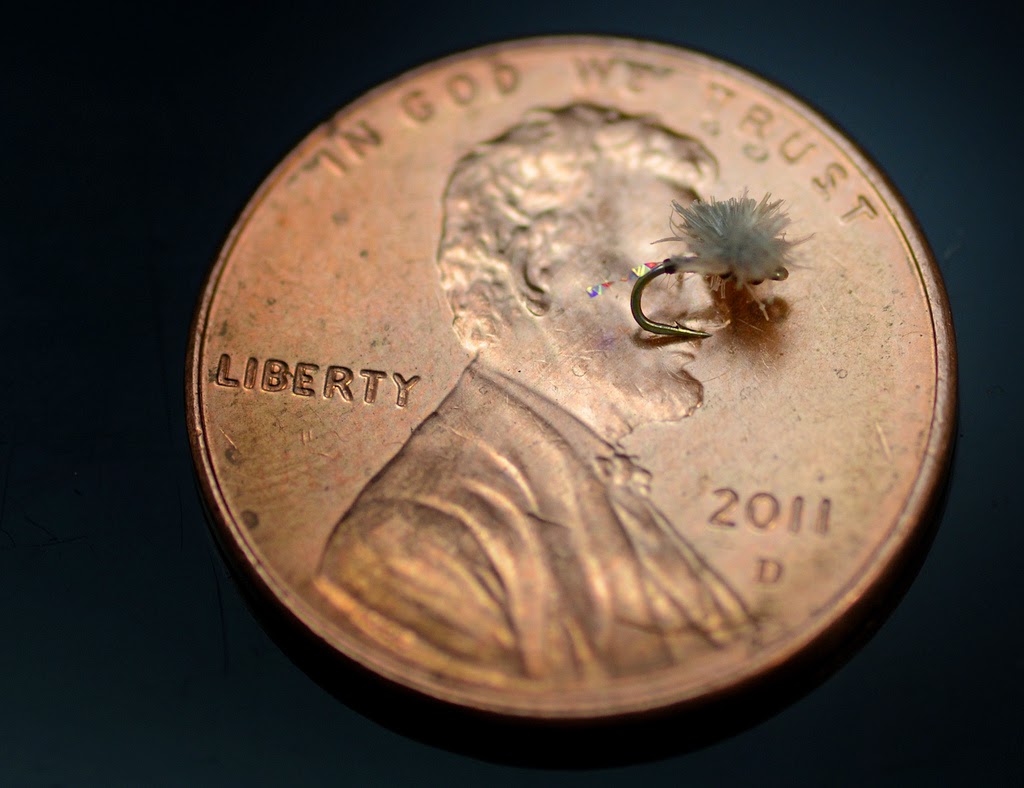
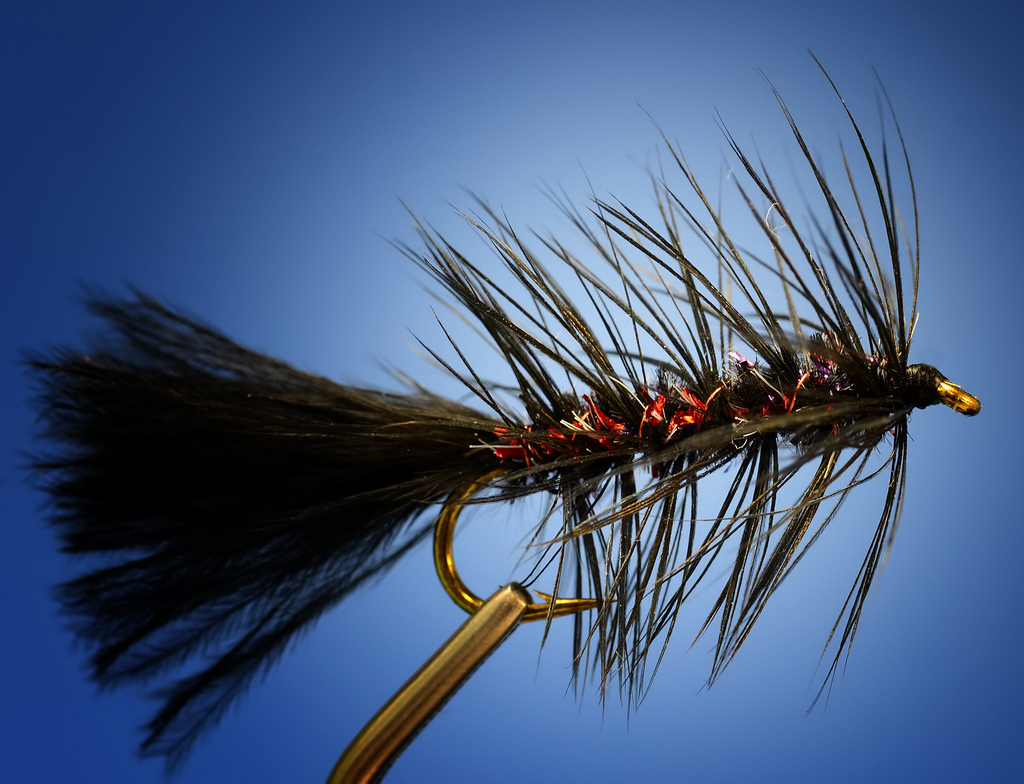
| Chironomids ready for action |
When I ended up realizing my need to organize wasn't properly balanced with a need to purge my boxes, I came to the stark reality that carrying around 30 boxes wasn't very practical.
Then, as I wrote about here, I decided it was time to pare down the "varsity team" flies and stick with patterns I was actually using. That little article has some good information on how to successfully make the purge, however the focus here will be ways to effectively organize those flies once you've gotten control of them.
So like I said, I was a serial re-organizer. As I did this for years and years, I came up with some things I would consider and that ended up working for me. Everyone will be different, but here are the top 5 things I'd recommend you focus on:
 |
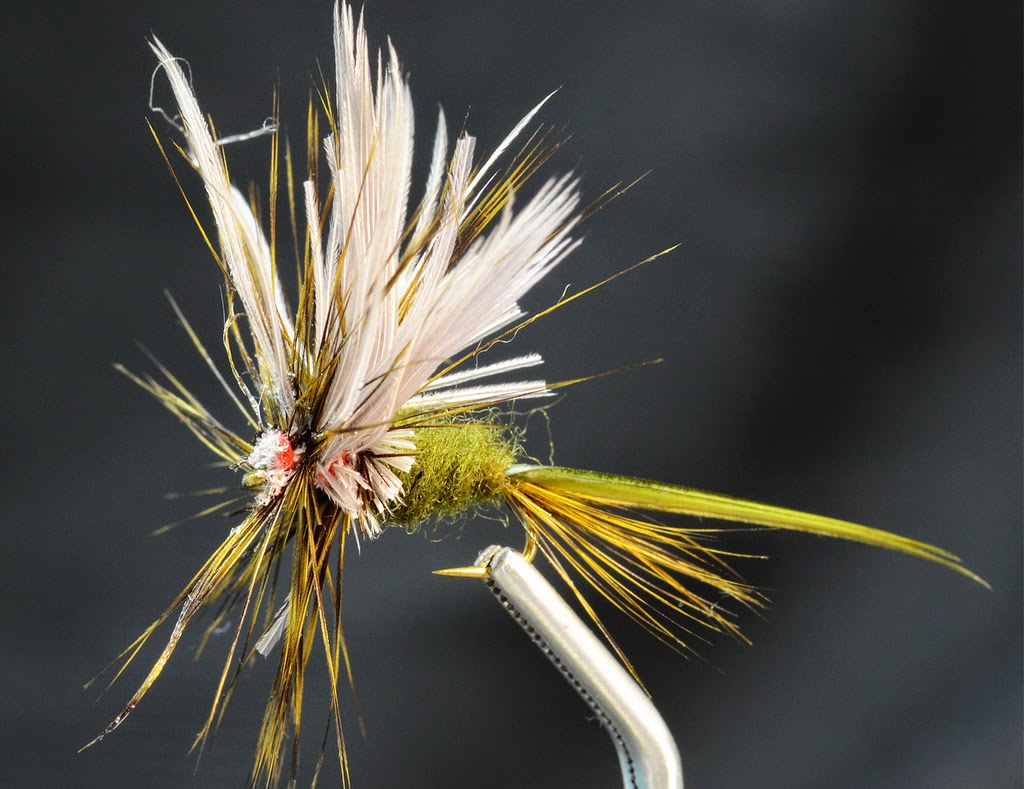
| Dry fly "hatch" box |
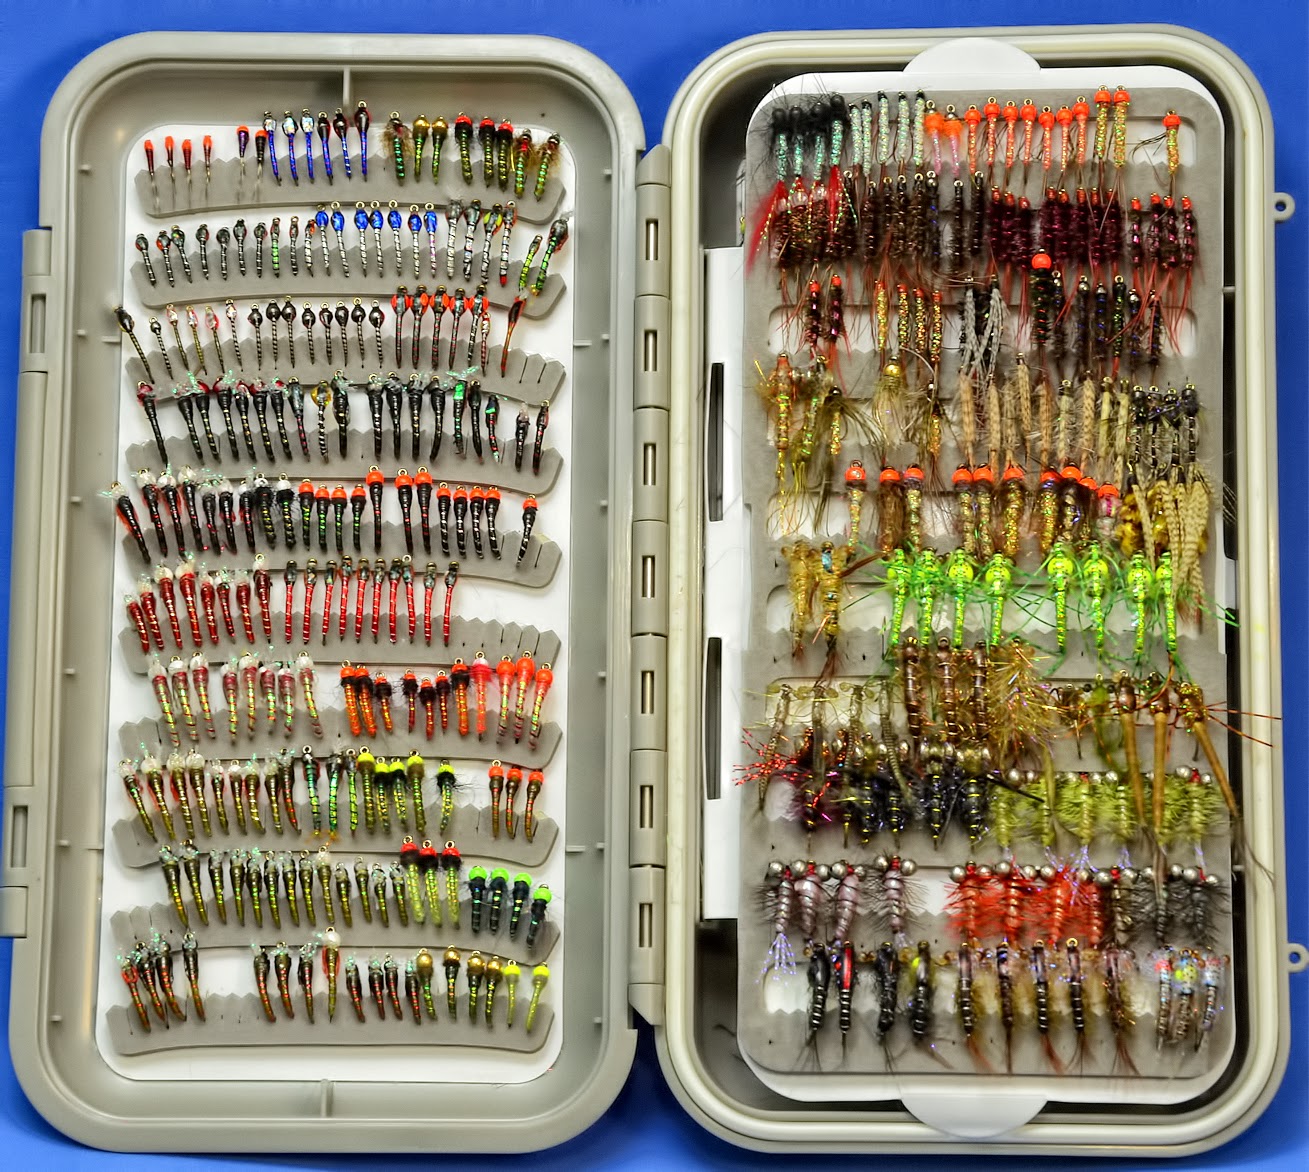 |
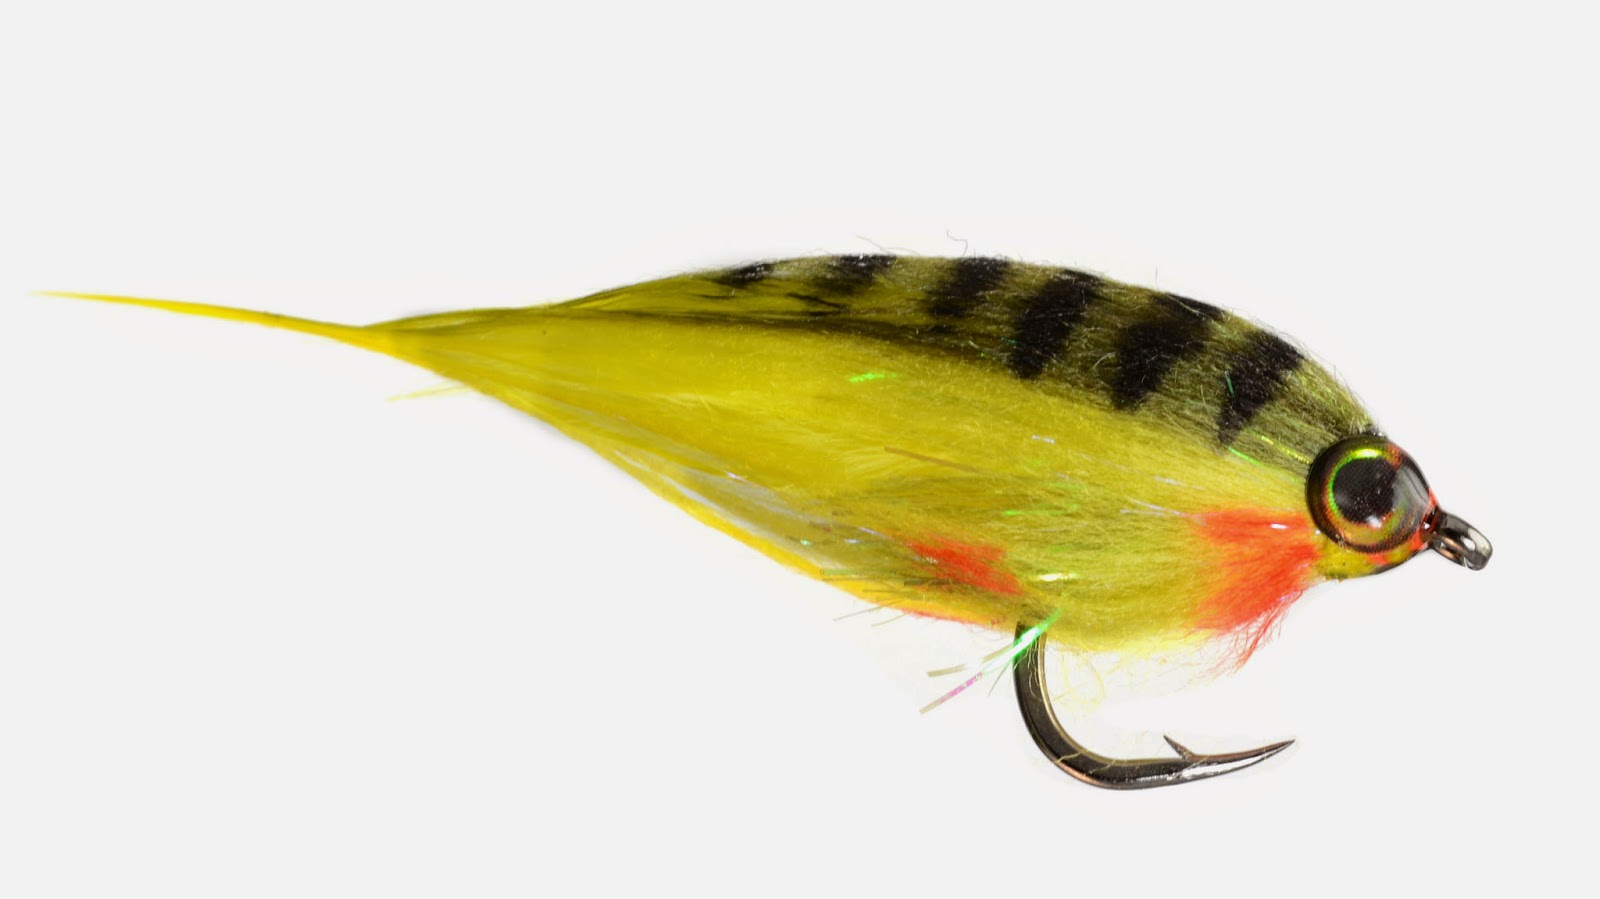
| Stillwater Nymphs |
2. Group by Water Type. This is related to the previous item, but more specifically, you can further break down the organization by fly types and then into where you'll be fishing those flies. You might have nymph patterns for rivers and then nymphs for stillwater. Or you might have surf baitfish patterns vs flats baitfish patterns. That doesn't mean you need separate boxes, but if you're going to spend a day out on the lake, you might not need your Baetis nymphs, but you'll need some damsel or callibaetis nymphs. When I organize it by water type, I can make that call on what boxes to bring depending on where I'm going to fish that day.
3. Label Your Boxes. Definitely not a novel concept, but besides sticking some labels on your boxes or writing on them with a sharpie for quick identification, you can also tack on your name and phone number in case they get lost.
4. Spend the time to organize and fill. Regardless of how you organize the boxes, you need to plan and spend time actually organizing and re-filling them. For me, this usually happens during the cold days of winter. Either way, you can make "to tie" lists and set aside the time to tie and to organize the boxes or it won't get done. On the back end, it's also a good idea to note down, while on the water, any holes you have in your boxes. I had a day where my yellow sally patterns weren't quite cutting it, so the next year, I came prepared with a new section of new flies in the box for those specifically.
5. Create "Overflow" boxes. If you're like me, you still have trouble narrowing down patterns to fit in your go-to boxes. In order to satisfy my fear that I'll be on the water and not have the right fly, I'll carry a few over-flow boxes that contain extra varsity patterns as well as more of the one-off patterns that I tie just in case. I don't usually carry these on the water with me but rather keep them in the car or a bag in the tent etc. Worst case scenario, I at least have them available should I run out or need something I don't have. Truth is I rarely use these boxes but it's nice to have them just in case.
And I'm sure next year, my approach could be different, but I must admit this methodology has held really firm for the past five or so years, so maybe I've settled down going forward. In any case, find what works for you and hopefully these suggestions will come in handy.